
Checking Your Fluids: A Straightforward Guide for Non-Mechanics

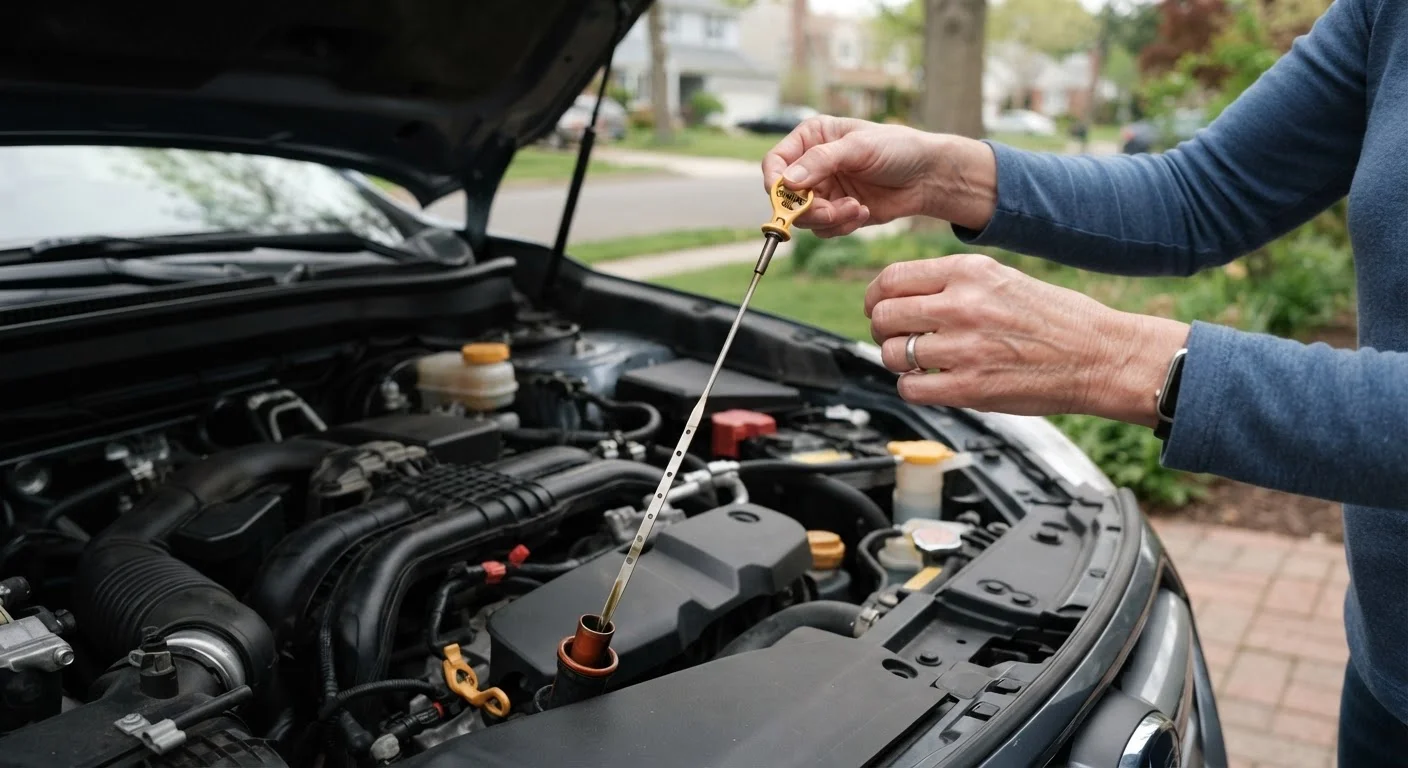
Photo: TheSearchHound.com | One Stop Answer To All Your Questions editorial
Key Takeaways
- Checking five key fluids - oil, coolant, brake fluid, power steering fluid, and washer fluid - takes under 20 minutes.
- Always check fluids with the engine off and the car parked on level ground for accurate readings.
- Your owner's manual specifies the correct fluid types; using the wrong fluid can cause damage.
- Low or discolored fluid can be an early warning sign of a leak or a worn component.
- Most fluid top-offs are safe DIY tasks, but a mechanic should investigate persistent low levels.
Why Fluid Checks Belong in Every Driver's Routine
Your car depends on a network of fluids to lubricate moving parts, regulate temperature, transmit hydraulic pressure, and keep your windshield clear. When any one of these falls below its operating range or degrades in quality, the consequences can range from reduced performance to component failure. The encouraging news: monitoring these fluids requires no mechanical expertise, only a few minutes and a methodical approach.
Routine fluid checks are among the most accessible maintenance tasks a driver can take on. They cost nothing beyond the occasional top-off and can reveal problems - slow leaks, contamination, unusual consumption - before those problems escalate into expensive repairs. If you're building your overall maintenance awareness, our guide to overlooked maintenance items is worth a read alongside this one.
Clean lint-free rag or paper towels
Used to wipe the dipstick clean before taking an accurate oil reading.
Flashlight or phone torch
Helps illuminate the engine bay and read fluid reservoir markings in low-light conditions.
Vehicle owner's manual
Identifies the correct fluid specifications, reservoir locations, and acceptable level ranges for your specific vehicle.
Funnel
Prevents spills when adding fluid to narrow reservoir openings.
What You'll Need Before You Start
Gathering your supplies before lifting the hood makes the process smoother and safer. You don't need a toolkit - just a rag, your owner's manual, and good lighting.
What you will need
Make It a Monthly Habit
Step-by-Step: Checking Each Fluid
Work through each fluid in order. If you discover a level that is significantly low or a fluid that looks discolored or contaminated, note it and decide whether a top-off is appropriate or whether a mechanic should evaluate the system first.
Never Open a Hot Radiator Cap
Park safely and open the hood
Pull onto a flat, level surface and turn off the engine. Engage the parking brake. Pop the hood using the interior release lever - usually located beneath the dashboard on the driver's side - then lift the secondary safety latch under the front of the hood. Prop the hood securely using the built-in support rod or strut.
Check engine oil
Locate the oil dipstick - it usually has a brightly colored (yellow or orange) loop or handle. Pull it out completely and wipe it clean with a rag. Reinsert it fully, then pull it out again and hold it horizontally. The oil level should fall between the two marks labeled MIN and MAX (or L and H). Also note the oil's color: it should be amber to dark brown. If it looks milky or gritty, consult a mechanic. For guidance on which oil grade belongs in your engine, see our engine oil grades explainer.
Check engine coolant
Locate the coolant (antifreeze) reservoir - a translucent plastic tank usually labeled with a radiator or thermometer icon. Do not open it if the engine is still warm. Check the level against the MIN and MAX lines printed on the side of the reservoir. The fluid should appear bright green, orange, or pink depending on the type used in your vehicle. Cloudy or rust-colored coolant warrants a mechanic's inspection. Our article on how the cooling system works explains why this fluid matters so much.
Check brake fluid
Find the brake fluid reservoir on top of the master cylinder - typically a small, semi-translucent container near the back of the engine bay on the driver's side. Without removing the cap, check the level through the reservoir walls against the MIN and MAX markings. Brake fluid should be clear to pale yellow. Dark brown fluid may indicate it has absorbed moisture and needs to be flushed by a professional.
Check power steering fluid (if applicable)
Many newer vehicles use electric power steering and have no fluid reservoir at all - check your owner's manual first. If your vehicle has hydraulic power steering, locate the reservoir (often capped with a steering wheel icon) and check the level using either the dipstick attached to the cap or the markings on the reservoir walls. The fluid should appear clear to light pink or amber. A burning or whining noise while turning can signal low fluid or a system issue worth investigating.
Check windshield washer fluid
This is the most forgiving fluid to top off - it has no safety-critical function beyond visibility. Locate the reservoir (capped with a spray nozzle or windshield icon) and fill it with commercially prepared washer fluid. Do not substitute plain water, especially in cold climates, as it can freeze in the lines and crack the reservoir.
When a Top-Off Isn't Enough
Adding fluid solves an immediate symptom, not always an underlying cause. If a fluid level drops noticeably between checks - without an obvious explanation like a recent top-off - that pattern typically points to a leak or a failing seal. Dashboard warning lights can provide early confirmation of a problem: our dashboard warning lights guide explains what each icon means and how urgently to respond.
There are also common misconceptions about fluid maintenance worth understanding. For example, the old advice to change engine oil every 3,000 miles regardless of the vehicle no longer applies to most modern cars. Our car fluid myths article separates fact from outdated advice. And if you're curious how far the DIY approach can responsibly extend, knowing your DIY limits is a balanced look at where home maintenance ends and professional service begins.
Brake Fluid Is Not a DIY Top-Off Signal
The content on this site is provided for informational purposes only and should not be considered a substitute for professional advice. While we strive to provide accurate and up-to-date information, we make no guarantees regarding its completeness or accuracy. Always consult a qualified professional for advice specific to your circumstances before making any decisions.