
Drywall Repair from the Inside Out: Patching Holes Without Calling a Pro

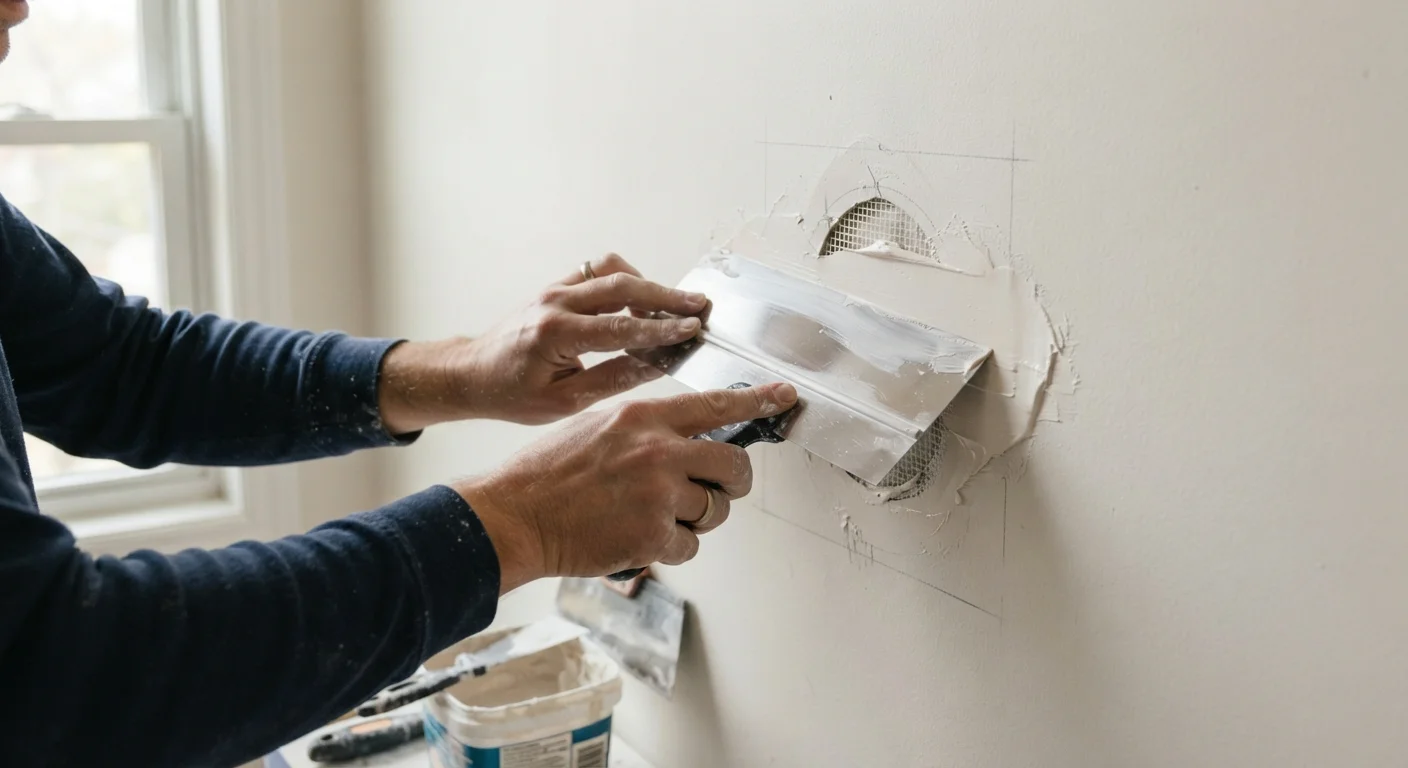
Photo: TheSearchHound.com | One Stop Answer To All Your Questions editorial
Key Takeaways
- Holes up to about six inches across can typically be patched without professional help.
- The repair method you use depends on the size and cause of the damage.
- Multiple thin coats of joint compound produce a smoother, less visible finish than one thick coat.
- Proper sanding and priming before painting are essential for a seamless blend.
- Moisture-related or structural damage behind the wall warrants a professional inspection first.
Understanding What You're Working With
Before you reach for a putty knife, take a moment to assess the damage. Not all drywall holes are the same, and the repair method that works for a nail pop won't work for a fist-sized impact hole.
Small holes - think doorknob dings, picture-hook punctures, or popped nails - are the simplest repairs. Anything up to about an inch across can be filled directly with lightweight spackling compound. Holes between one and six inches typically require a backing patch or a self-adhesive mesh patch to give the compound something solid to grip. Holes larger than six inches are still DIY-manageable, but they involve cutting back to studs and installing a new drywall piece - a process better suited to someone with some hands-on experience. For guidance on where that line sits, see our full breakdown of DIY versus professional repairs.
Also check around the hole for soft, discolored, or crumbling drywall. These can be signs of a moisture problem or mold, and patching over them without fixing the source will only delay bigger damage. When in doubt, have a licensed contractor or inspector take a look before you proceed.
What you will need
Tools and Materials You'll Need
Gathering everything before you start saves trips to the hardware store mid-project and keeps your workspace organized.
Putty knife or drywall knife (4-6 inch)
Used to apply and smooth joint compound over the patch area.
Self-adhesive mesh patch or backing clip
Provides structural support for medium-sized holes so compound doesn't sink in.
Lightweight joint compound (pre-mixed)
Fills and skins over the patch in multiple coats to create a smooth surface.
Sandpaper (120-grit and 220-grit) or sanding sponge
Smooths each dried coat of compound before the next is applied.
Drywall primer
Seals the repaired area so paint absorbs evenly and doesn't flash.
Utility knife
Trims ragged drywall edges to create a cleaner surface for patching.
Dust mask and safety glasses
Protects against fine drywall and compound dust during sanding.
Corner bead (for edge or corner damage)
Reinforces repaired corners so they stay crisp and resist future impact.
One note on joint compound: lightweight all-purpose compound is easiest for beginners to sand and feather. Avoid using setting-type (powdered) compound unless you're comfortable with faster dry times - it can't be reworked once it hardens.
Step-by-Step Patching Instructions
Follow these steps in order. Rushing the drying stages is the most common mistake homeowners make, and it almost always results in cracks or visible ridges after painting.
Clean and Prepare the Damaged Area
Use a utility knife to trim any loose paper facing, crumbled gypsum, or jagged edges around the hole. The goal is a clean, defined opening with no flapping material that could telegraph through your finished compound. For small nail holes, simply push any raised edges inward so the surface is flush.
Apply Your Backing or Patch
For holes larger than about an inch, place a self-adhesive mesh patch over the opening, centered so the mesh extends at least an inch beyond the hole on all sides. For holes between three and six inches, a backing clip system threaded through the hole and tightened against the inner wall provides a firmer base. Press firmly so the patch lies flat against the wall surface.
Apply the First Coat of Joint Compound
Load a modest amount of pre-mixed joint compound onto your putty knife and spread it over the patch in a thin, even layer. Use long, smooth strokes to feather the edges outward onto the surrounding wall - this gradual blending is what makes repairs disappear. Don't try to fill the hole completely in one pass.
Allow to Dry Completely, Then Sand
Let the first coat dry until it has turned uniformly white with no gray or damp spots - this typically takes two to four hours depending on humidity and temperature. Once dry, sand lightly with 120-grit sandpaper to knock down any ridges or brush marks. Remove all dust with a dry cloth or vacuum before proceeding.
Apply a Second (and Third) Coat
Apply a second thin coat, feathering it slightly wider than the first. Most repairs need two or three coats to fully level out. Each successive coat should be thinner and wider. After the final coat dries, sand the entire area smooth with 220-grit sandpaper and blend carefully into the surrounding wall surface.
Prime and Paint
Apply one coat of drywall primer to the entire repaired area and allow it to dry fully per the manufacturer's instructions. Once primed, apply your finish paint in the same sheen as the rest of the wall. For best results, paint the full wall surface rather than just the patch to avoid visible color differences.
Patience Between Coats Pays Off
Finishing and Painting for an Invisible Repair
A technically solid patch can still stand out if the finishing steps are skipped. Once your final coat of joint compound is fully dry and sanded smooth, run your hand across the surface - you should feel no ridge where the patch meets the wall.
Prime the patched area before painting. Drywall compound is porous and will absorb paint unevenly, leaving a dull spot called flashing even after two coats of paint. A coat of drywall primer seals the surface and gives your topcoat a consistent base to grip. If your wall has texture - orange peel, knockdown, or skip trowel - apply texture spray or replicate the pattern with a sponge before priming.
Match your paint carefully. Even the same paint from the same can can look slightly different after it cures, especially on older walls. Painting the entire wall from corner to corner (rather than just the patch area) gives the most seamless result.
Want to avoid the most common pitfalls that turn a simple fix into a costly redo? Our look at DIY myths that lead to expensive fixes covers what well-intentioned homeowners often get wrong.
The content on this site is provided for informational purposes only and should not be considered a substitute for professional advice. While we strive to provide accurate and up-to-date information, we make no guarantees regarding its completeness or accuracy. Always consult a qualified professional for advice specific to your circumstances before making any decisions.