
What to Look For During an Apartment Walkthrough Before You Commit

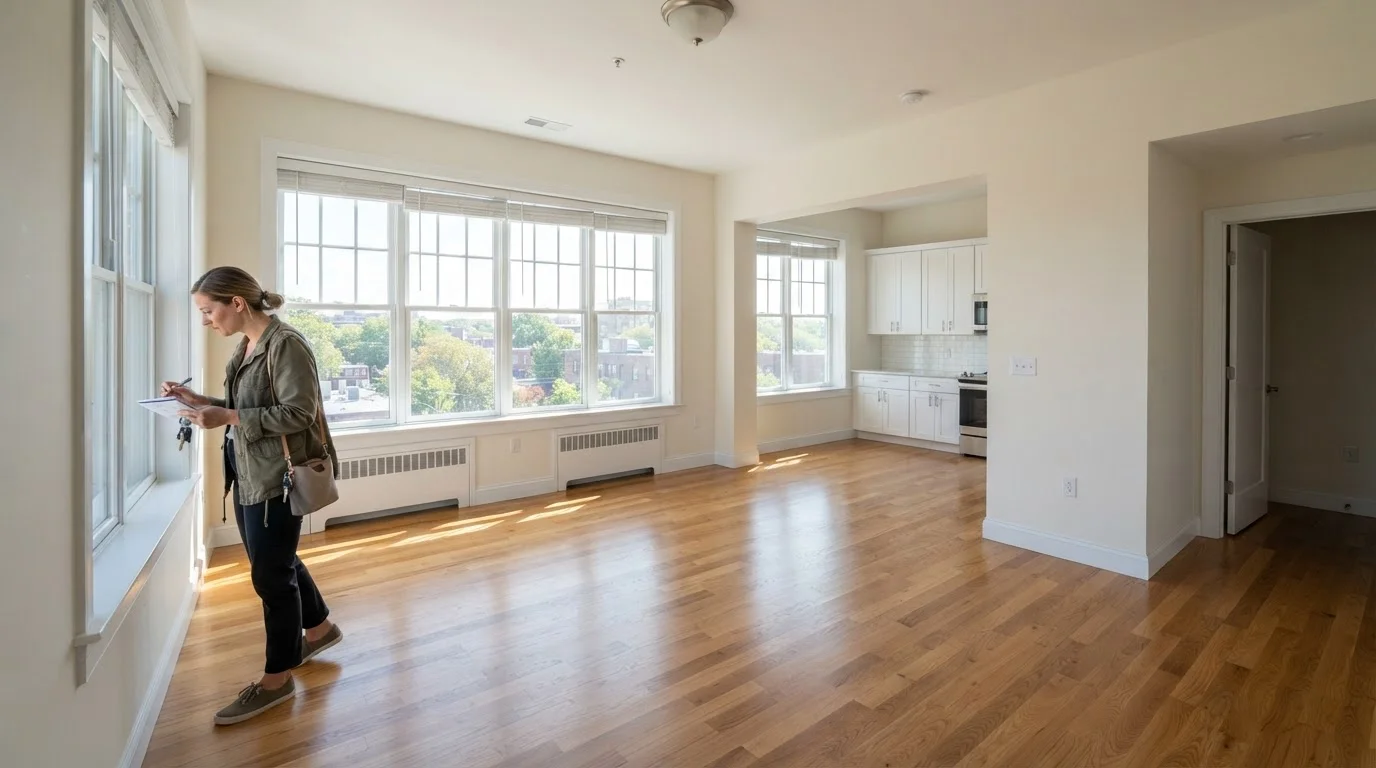
Photo: TheSearchHound.com | One Stop Answer To All Your Questions editorial
Key Takeaways
- Document every defect you find during the walkthrough with dated photos before moving in.
- Test all plumbing, appliances, outlets, and locks in person - never rely on listing photos alone.
- Ask management to confirm in writing any promised repairs before you sign the lease.
- Check for signs of moisture, mold, and pest activity, which can be expensive and hard to remediate.
- Your walkthrough observations can directly support your security deposit return when you move out.
Why the Walkthrough Is Your Most Important Pre-Signing Step
A rental listing can be professionally staged, selectively photographed, and freshly painted - none of which tells you whether the unit's plumbing drains properly or whether the bedroom windows lock. The walkthrough is your one unfiltered opportunity to evaluate the actual condition of the space before you're legally bound to it.
Unlike homebuyers, renters typically don't have a professional inspector in their corner. That means the responsibility falls on you to be systematic. Bringing this checklist and taking dated photos of every room creates a condition record that protects your security deposit when it's time to leave. As the inspection process for homebuyers makes clear, what you see in photos and what you find on-site can be very different things.
Plan to spend at least 30 to 45 minutes in the unit. Visit during daylight so natural lighting reveals issues that overhead fixtures can mask. Bring a phone charger, a flashlight, and this checklist.
Smartphone with camera
Document every room and defect with dated photos to create an official condition record before move-in.
Phone charger or plug-in device
Test individual electrical outlets throughout the unit quickly and easily.
Flashlight or phone torch
Illuminate dark corners, under-sink cabinets, and closets where damage or pests are easy to miss.
Printed or digital checklist
Keep your inspection systematic so no room or system is accidentally skipped.
Notepad or notes app
Record verbal promises made by the landlord during the tour for follow-up in writing.
What to Inspect Room by Room
Work through the unit methodically rather than wandering. Starting at the entrance and moving clockwise through each room reduces the chance of missing something. Pay special attention to high-moisture areas - bathrooms and kitchens - where deferred maintenance tends to accumulate and where the most expensive problems hide.
Structural & General Condition
Plumbing & Water
Electrical & Heating/Cooling
Appliances & Kitchen
Safety Features
Building & Common Areas
Photograph Everything Before You Move Anything In
If a landlord refuses to let you photograph the unit or rushes you through in under ten minutes, treat that as a meaningful signal about how management disputes will be handled later. The due-diligence questions smart buyers ask translate directly to renting: investigate before you commit, not after.
After the Walkthrough: Protect Yourself Before You Sign
Once you've completed your inspection, compile your photos and notes and submit a written list of any issues to the landlord or property manager. Request written confirmation that identified problems will be repaired before your move-in date, or negotiate a rent adjustment if they won't be. Verbal promises made during a showing are notoriously difficult to enforce.
Ask for a copy of the unit's move-in condition form. If the landlord doesn't provide one, create your own using your photos and submit it to them in writing before paying your first month's rent. This document is your primary defense if a dispute arises at move-out over damage versus pre-existing wear.
Finally, review the lease carefully for clauses covering maintenance responsibilities, pest control obligations, and how repair requests must be submitted. Understanding what's in writing before you sign is the same discipline a careful buyer brings to any major commitment - whether that's a home purchase or understanding the broader home-buying process you may pursue later.
This article is for general informational purposes only and does not constitute legal or financial advice. Rental regulations and landlord-tenant laws vary significantly by state and municipality. Consult a qualified local attorney or tenant's rights organization for guidance specific to your situation.
The content on this site is provided for informational purposes only and should not be considered a substitute for professional advice. While we strive to provide accurate and up-to-date information, we make no guarantees regarding its completeness or accuracy. Always consult a qualified professional for advice specific to your circumstances before making any decisions.