
Switching Internet Providers Without Disrupting Your Household

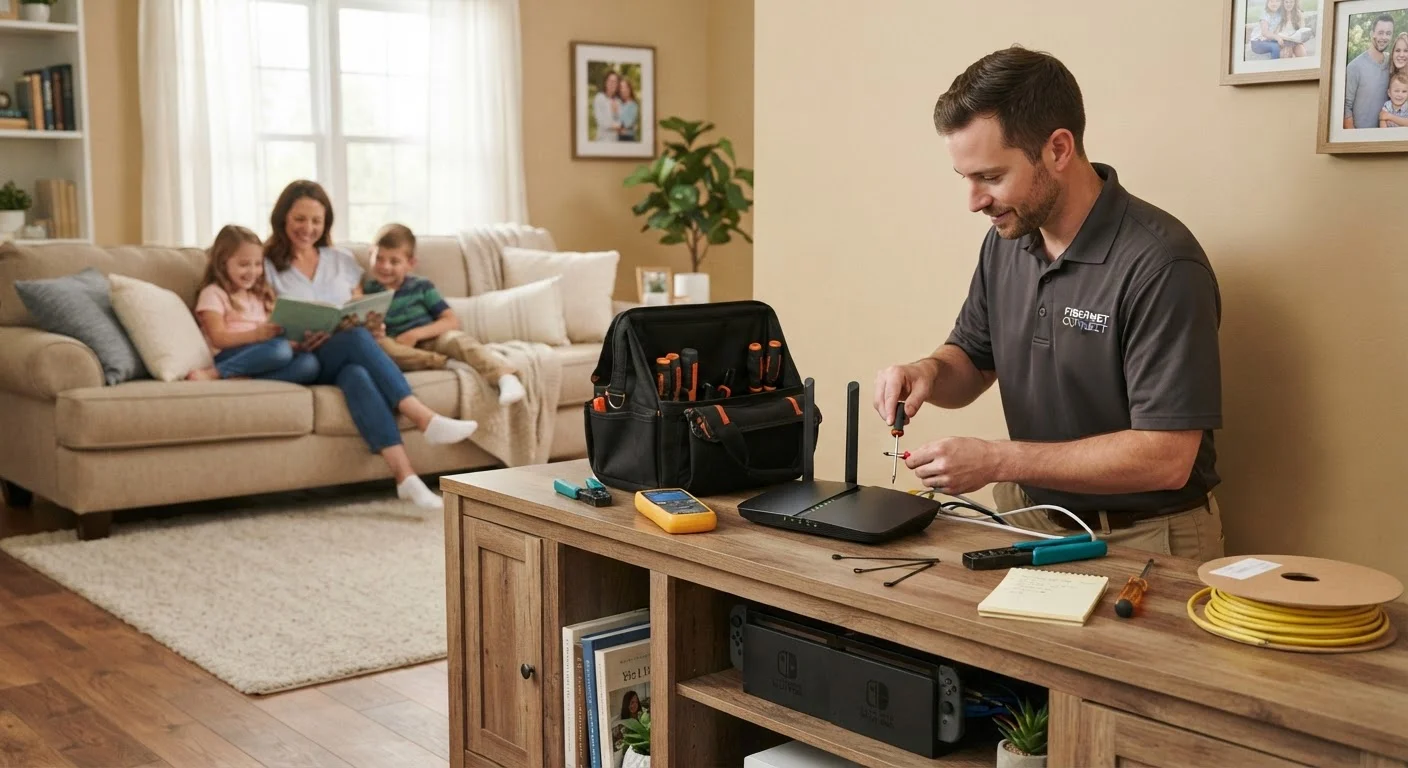
Photo: TheSearchHound.com | One Stop Answer To All Your Questions editorial
Key Takeaways
- Schedule your new service installation before canceling your existing plan to avoid any gap in connectivity.
- Check your current contract for early termination fees before initiating a switch.
- Decide in advance whether to use your own modem and router or rent equipment from the new provider.
- Reconfigure all smart home devices and streaming apps once the new network is active.
- Return old equipment promptly and get written confirmation to avoid unexpected charges.
Why Switching Providers Takes Planning
Changing your home internet service is straightforward in principle but easy to mishandle in practice. The most common mistake households make is canceling their current service before the new one is active - a gap that can last anywhere from a few hours to several days. A second common error is overlooking contract terms and getting hit with fees that could have been avoided with a few weeks of lead time.
If cost is a factor in your switch, it's also worth knowing that government-backed assistance programs exist for eligible households. A factual overview of internet access programs for lower-income households explains how these options are structured and who may qualify.
What you will need
What You'll Need Before You Start
Gathering a few key pieces of information before you make any calls will save significant time. Have your account number and billing statement from your current provider on hand, and know whether your plan is month-to-month or under a fixed-term contract. You'll also want a running list of every internet-connected device in your home - the reconnection step is easier when nothing gets missed.
Speed test tool (e.g., any browser-based speed tester)
Verify that your new connection is delivering the speeds included in your plan after installation.
Personal modem and router (if owned)
Connect to the new provider's service without paying a monthly equipment rental fee.
Ethernet cable
Establish a wired connection during initial setup to confirm the service is working before testing Wi-Fi.
Step-by-Step: Making the Switch
Follow these steps in order. Each one builds on the last, and skipping ahead - particularly canceling before activating - is the most reliable way to end up offline unexpectedly.
Review your current contract terms
Before contacting any new provider, locate your current service agreement. Identify the contract end date and whether an early termination fee (ETF) applies. ETFs vary widely - some are flat fees, others are prorated by the months remaining. Factor this cost into your decision before proceeding.
Confirm which service types are available at your address
Not every connection technology is available everywhere. Check which options - fiber, cable, DSL, or fixed wireless - serve your specific address. Understanding these differences matters: fiber, cable, DSL, and fixed wireless all deliver service differently, with meaningful implications for speed, reliability, and upload performance.
Schedule new installation before canceling old service
Contact your new provider and schedule an installation date. Do not cancel your existing service until the new connection is confirmed active in your home. Running both services simultaneously - even for just a few days - prevents a connectivity gap that could affect remote work, schooling, or other household needs.
Decide on equipment: rent or own
Most providers offer to rent you a modem and router for a monthly fee. Purchasing compatible equipment outright typically recovers its cost within one to two years. Review your new provider's list of approved modems and confirm compatibility before buying. Renting vs. owning your home router and modem involves real trade-offs worth evaluating for your household's situation.
Activate and verify the new connection
Once the technician completes installation, connect a device via Ethernet cable directly to the modem and run a speed test. Compare the results to the speeds listed in your plan. If speeds are significantly lower than advertised, contact the provider before the technician leaves if possible.
Reconnect all household devices to the new network
Update the Wi-Fi credentials on every device in your home: smartphones, tablets, laptops, smart TVs, streaming devices, smart speakers, thermostats, doorbells, and security cameras. Using the same network name (SSID) and password as your previous network can simplify this step, though not all routers allow this configuration.
Cancel old service and return equipment
Contact your previous provider to cancel your account only after the new service is confirmed working. Ask for written confirmation of the cancellation and any final billing adjustments. Return all rented equipment - modems, routers, cables - using a trackable shipping method and retain the receipt until you receive confirmation that no further charges are owed.
Keep a Device Reconnection Checklist
After the Switch: Common Issues and How to Handle Them
Even a well-executed switch can surface minor issues in the first week. Slower-than-expected speeds on Wi-Fi are often a router placement issue, not a service problem - try moving the router to a more central, elevated location. Devices that won't connect may need their network settings manually cleared before they recognize the new credentials.
If you're comparing this process to switching mobile carriers, many of the same principles apply. A practical walkthrough of switching wireless carriers without fees or number loss covers the parallel steps for that process.
Watch for Post-Cancellation Billing Errors
The content on this site is provided for informational purposes only and should not be considered a substitute for professional advice. While we strive to provide accurate and up-to-date information, we make no guarantees regarding its completeness or accuracy. Always consult a qualified professional for advice specific to your circumstances before making any decisions.