
Switching Carriers Without Losing Your Number or Getting Hit With Fees

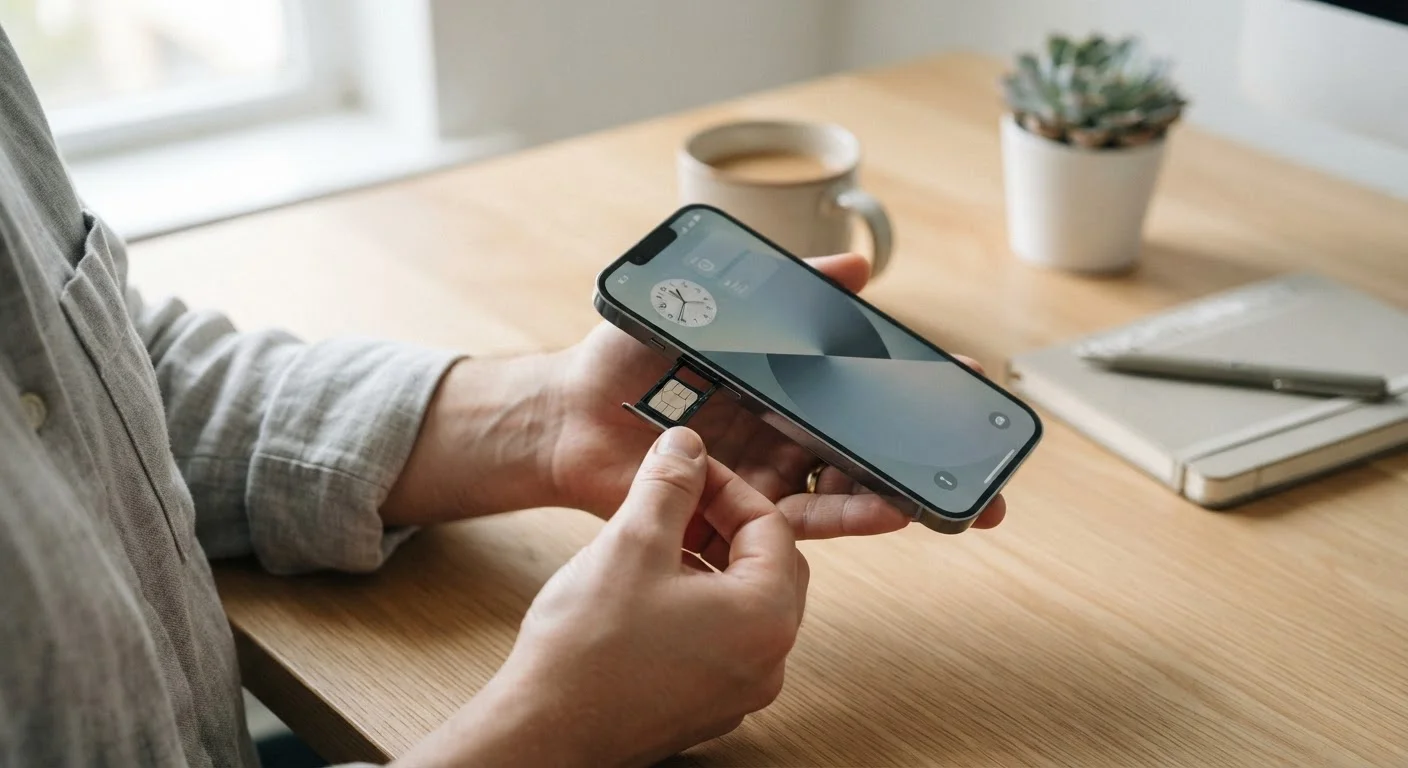
Photo: TheSearchHound.com | One Stop Answer To All Your Questions editorial
Key Takeaways
- Keep your existing account active until your number has fully transferred to the new carrier.
- Unlocking your phone before switching ensures compatibility with any new network.
- Early termination fees can often be minimized by timing your switch to your billing cycle.
- Your number port is legally protected under FCC rules - carriers cannot block a valid transfer.
- eSIM-capable devices can complete carrier switches without waiting for a physical SIM card.
- Outstanding device installment balances typically must be paid before or shortly after switching.
What to Understand Before You Switch
Changing wireless carriers is a routine transaction, but a few misunderstood details - account status, device locks, and installment balances - cause most of the problems people run into. Understanding these upfront turns a potentially frustrating process into a predictable one.
What you will need
The most common misconception is that you need to cancel your old account before signing up with a new one. The opposite is true. Your old account must remain active and in good standing for the number port to work. The transfer itself triggers the cancellation automatically.
If you're evaluating which carrier to move to, consider whether a smaller provider running on a major network might suit your needs. Our overview of how MVNOs work can help you compare options beyond the large national brands. For a parallel look at switching home internet, see our guide on changing internet providers without disrupting your household.
Account Number and PIN
Required by the new carrier to initiate a number port request from your old carrier.
IMEI Number
Allows the new carrier to verify your phone's compatibility with their network.
Unlocked Phone or New Device
An unlocked phone works on any compatible network; a locked phone may be restricted to your current carrier.
New SIM Card or eSIM Profile
Connects your device to the new carrier's network once the port is complete.
Latest Carrier Bill
Confirms your account number, billing cycle end date, and any applicable early termination fees.
Step-by-Step: Switching Carriers and Porting Your Number
Never Cancel Your Old Account First
Check Your Current Contract and Fee Exposure
Pull up your most recent bill or log into your carrier account and look for two things: the end date of your billing cycle and any early termination fee (ETF) or remaining device installment balance. Month-to-month plans typically carry no ETF. Older annual contracts may still apply one. If you're mid-installment on a financed device, that balance doesn't disappear when you leave - it's billed separately.
Timing your switch to land just after your billing cycle ends can help you avoid paying for days of service you won't use on the old plan.
Confirm Your Phone Is Unlocked
A carrier-locked phone can only connect to its original carrier's network. Most U.S. carriers are required to unlock devices once they meet eligibility criteria - typically that the phone is fully paid off and the account is in good standing. Check your carrier's unlock policy, then submit an unlock request through their app, website, or customer service line.
Once unlocked, test the phone by inserting a SIM from a different carrier if one is available to you. If you have a newer device, review how eSIM activation differs from a physical SIM swap to understand your options.
Gather Your Account Information for Porting
Number porting - the transfer of your existing phone number to the new carrier - requires your current carrier's account number and your account PIN or transfer PIN. These are not the same as your phone's lock screen PIN. Find them on your bill, in your carrier app, or by calling customer service. Write them down exactly; even a single digit error will delay the port.
You'll also need your phone's IMEI number and your billing zip code. Dial *#06# to display the IMEI on most devices.
Sign Up With the New Carrier and Initiate the Port
Complete the new carrier's sign-up process and, when prompted, choose to transfer your existing number rather than receive a new one. Enter your old account number, PIN, and billing zip code accurately. The new carrier will submit a port request to your old carrier on your behalf.
Under FCC rules, your old carrier cannot block or unreasonably delay a valid port request. The process typically completes within a few hours for wireless-to-wireless transfers, though it can occasionally take up to one business day.
Activate Your New SIM or eSIM
Once the new carrier confirms your account is ready, insert the new SIM card or scan the eSIM QR code they provided. Follow the on-screen activation steps. Calls, texts, and data should begin routing through the new carrier's network as soon as the port is complete.
Test all three: make a call, send a text, and load a webpage over mobile data (with Wi-Fi turned off). If something doesn't work, restart the device before contacting support - most activation issues resolve with a reboot.
Confirm the Old Account Is Closed
After the port completes, your old carrier should automatically close your account. Verify this within a day or two by logging into your old account or calling customer service. Confirm no additional charges are pending beyond your prorated final bill or installment balance. Save or screenshot your final statement for your records.
Check Coverage Before You Commit
Once your new service is confirmed active and you've verified your old account is closed, you're done. Keep your final bill from each carrier for at least 90 days in case a billing dispute arises. If you plan to travel internationally soon after switching, check what your new plan includes by reviewing the key questions to ask about roaming fees before you go.
The content on this site is provided for informational purposes only and should not be considered a substitute for professional advice. While we strive to provide accurate and up-to-date information, we make no guarantees regarding its completeness or accuracy. Always consult a qualified professional for advice specific to your circumstances before making any decisions.