
Weatherproofing Your Home Before Winter Arrives

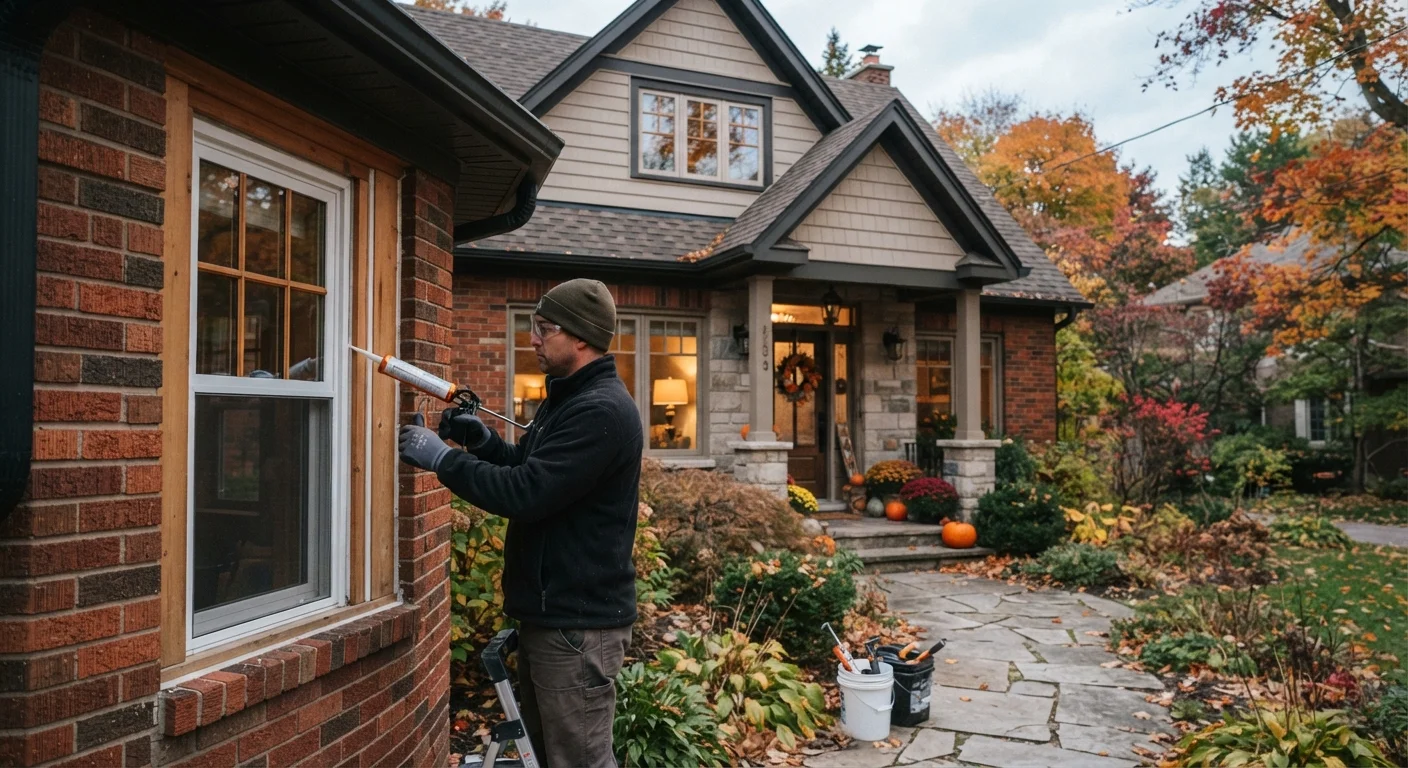
Photo: TheSearchHound.com | One Stop Answer To All Your Questions editorial
Key Takeaways
- Air sealing around windows, doors, and penetrations is the single most cost-effective winter prep task.
- Pipe insulation in unheated spaces can prevent freezing and the water damage that follows.
- Attic insulation and ventilation together prevent ice dams from forming on your roof.
- Heating system maintenance should happen before the first cold snap, not during it.
- Many weatherproofing tasks are genuine DIY projects; gas or electrical work requires a licensed professional.
Why Winter Prep Matters More Than Most Homeowners Realize
Cold weather doesn't just make your home uncomfortable - it creates conditions that can cause serious structural and systems damage. Frozen pipes can burst and release hundreds of gallons of water into walls and ceilings. Ice dams can lift roofing materials and force water into your attic. Drafts quietly inflate your heating bills while making rooms feel unlivable. Nearly all of these problems are preventable with a few hours of focused effort before temperatures drop.
This guide walks through the core weatherproofing tasks in order of impact and effort. Whether you're in a newer home or an older one with original windows and insulation, there's almost always meaningful work to do. For a broader look at how these tasks fit into year-round upkeep, see our seasonal home maintenance guide.
What you will need
Tools and Materials You'll Need
Before you start, gather your supplies. Most of these are available at any hardware store and require no special expertise to use safely.
Caulk gun and exterior-grade caulk
Seals gaps around window and door frames, penetrations, and foundation sills to block cold air infiltration.
Weatherstripping (foam or V-strip)
Fills the moving gaps around door and window edges that rigid caulk cannot seal.
Pipe insulation foam sleeves
Wraps exposed pipes in unheated spaces to reduce the risk of freezing during cold snaps.
Attic insulation (batts or blown-in)
Adds or tops up thermal resistance in the attic floor to retain heat and prevent ice dam conditions.
Draft snake or door sweep
Blocks cold air from entering under exterior doors where weatherstripping alone is insufficient.
Smoke pencil or incense stick
Helps locate hidden air leaks by showing where air movement disrupts a thin stream of smoke.
Step-by-Step: Weatherproofing Your Home
Work through these steps in order. The first three - air sealing, pipe insulation, and attic review - deliver the most protection per hour invested.
Locate and seal air leaks around windows and doors
Walk the perimeter of your home on a cold or windy day and hold your hand near window frames, door frames, electrical outlets on exterior walls, and any point where pipes or cables pass through the wall. Even small gaps can account for significant heat loss over a season.
Apply exterior-grade caulk to any stationary gaps - meaning places that don't open or move. For the moving edges of operable windows and door stops, use self-adhesive weatherstripping. Replace door sweeps on exterior doors if daylight is visible at the bottom.
Insulate exposed pipes in unheated spaces
Inspect your basement, crawl space, garage, and any other unheated area for water supply pipes running close to exterior walls or in uninsulated cavities. These are the pipes most at risk of freezing when temperatures drop well below freezing.
Slide foam pipe insulation sleeves over each exposed run, cutting to length with a utility knife and securing seams with duct tape. Pay particular attention to pipes near exterior walls and in corners where cold air tends to pool.
Check and top up attic insulation
In most U.S. climates, the attic floor is the single most important insulation location in a home. Inadequate insulation there allows heat to rise from living spaces into the attic, warming the underside of the roof deck - a primary cause of ice dams, which form when that escaped heat melts snow that then refreezes at the cold eaves.
Look up your climate zone's recommended R-value from the U.S. Department of Energy's guidelines (most of the country benefits from R-38 to R-60 in the attic). If your existing insulation is thin, compressed, or damaged, adding batts or having blown-in insulation added can make a substantial difference. For a full breakdown of insulation types by location, see our room-by-room insulation guide.
Service your heating system before the cold sets in
Replace the furnace or air handler filter - a clogged filter forces the system to work harder and reduces air quality. If you have a forced-air system, check that all supply and return registers are unobstructed by furniture or rugs. Bleed radiators on hot-water heating systems if they've felt less effective in recent months.
For gas furnaces, boilers, and fireplaces, schedule a professional service call. A licensed HVAC technician will check burners, heat exchangers, and flue connections - issues that matter for both efficiency and safety.
Clear gutters and check the roof
Clogged gutters are a direct contributor to ice dams: when water can't drain, it sits at the roofline and freezes, backing up under shingles. Clean out all leaves and debris from gutters and downspouts before freezing temperatures arrive, and confirm that downspouts direct water at least a few feet away from the foundation.
While on or near the roof, visually inspect for missing, cracked, or curling shingles. Any compromised areas allow water intrusion during freeze-thaw cycles. Minor visible issues can sometimes be addressed with roofing sealant; anything involving multiple shingles or the flashing around chimneys and vents should be assessed by a licensed roofing professional.
Start With Air Sealing If Time Is Short
When to Call a Professional
Several winterization tasks fall outside reasonable DIY scope. If your furnace or boiler hasn't been serviced in more than a year, schedule a tune-up with a licensed HVAC technician before the heating season begins - this is especially important for gas appliances, where combustion efficiency and carbon monoxide safety are at stake. Any work touching your gas supply line, electrical panel, or structural elements of your roof should be handled by a licensed professional.
If you discover signs of water intrusion around windows, the roof deck, or interior walls during your inspection, don't wait. Moisture problems compound quickly in cold weather. Our guide on spotting plumbing leaks early covers what to look for and when to escalate. Skipping these steps rarely saves money in the long run - for a clear-eyed look at the math, see the real cost of deferred maintenance.
For homeowners interested in smart thermostat or leak-detection upgrades, smart home technology guides can help you evaluate connected devices worth adding to your winter-ready setup.
The content on this site is provided for informational purposes only and should not be considered a substitute for professional advice. While we strive to provide accurate and up-to-date information, we make no guarantees regarding its completeness or accuracy. Always consult a qualified professional for advice specific to your circumstances before making any decisions.