
Composting at Home: Turning Kitchen Scraps Into Garden Gold

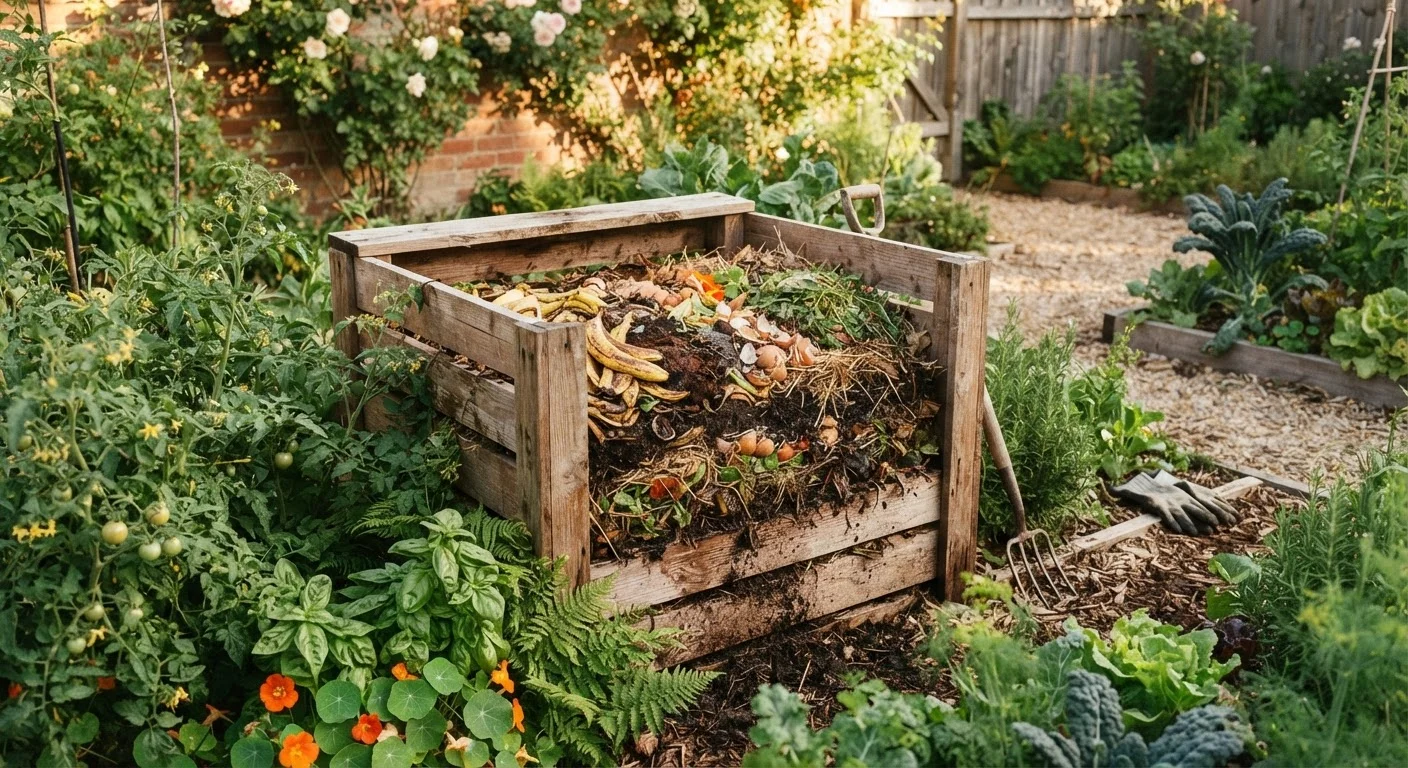
Photo: TheSearchHound.com | One Stop Answer To All Your Questions editorial
Key Takeaways
- Composting requires a balance of carbon-rich "browns" and nitrogen-rich "greens" to break down properly.
- Most kitchen and yard waste can be composted; meat, dairy, and oily foods should be excluded.
- Moisture, airflow, and regular turning speed up the decomposition process significantly.
- Apartment dwellers can compost indoors using a worm bin or countertop composting system.
- Finished compost improves soil structure, feeds beneficial microbes, and reduces the need for synthetic fertilizers.
Why Composting Is Worth the Effort
Composting is one of the most effective things a home gardener can do for their soil. Finished compost - often called "black gold" by gardeners - feeds the microbial life that makes nutrients available to plants, improves drainage in heavy clay soils, and helps sandy soils retain moisture. It also reduces the volume of organic waste your household sends to the landfill, where it would otherwise decompose anaerobically and produce methane.
If you're building a vegetable patch or planning new beds, compost gives you a meaningful head start. See our guide to starting a vegetable garden from the ground up for how to pair soil prep with planting schedules. For those exploring raised garden beds, compost is one of the most practical and affordable ways to build quality fill for new beds.
What you will need
What You'll Need
The tools involved are simple and affordable. The most important investment is a reliable containment system - open piles work, but a bin controls moisture better and keeps the process tidier. Review the options below before getting started.
Compost bin or tumbler
Contains the compost pile, retains heat, and keeps pests out during decomposition.
Garden fork or pitchfork
Used to turn and aerate the compost pile, which is essential for speeding up breakdown.
Countertop compost pail
Holds kitchen scraps temporarily before transferring to the main bin.
Worm bin (vermicomposting system)
Enables composting indoors or in small spaces using red wiggler worms to process food scraps.
Compost thermometer
Measures internal pile temperature to confirm active decomposition is occurring.
Step-by-Step: Building and Running Your Compost System
Follow these steps to set up a system that works with your space and daily routine. Whether you're working with a full backyard or a studio apartment, the same principles apply.
Never Compost These Items
Choose the right composting method for your space
Outdoor composters with a yard have the most options: a simple open pile in a corner, a three-bin system for continuous batches, or a sealed tumbler that speeds breakdown and deters animals. Apartment dwellers or those without outdoor space can use a worm bin (vermicomposting) under the kitchen sink or in a closet - red wiggler worms process food scraps efficiently in a contained environment. Match the method to your realistic daily habits, not an aspirational setup you won't maintain.
Select and prepare your compost location
For outdoor bins, choose a level spot with good drainage and partial shade - direct, all-day sun dries the pile out too quickly. Position the bin within easy reach of a hose and close enough to your kitchen door that adding scraps stays convenient. Keep it at least a few feet from fences or structures to allow airflow on all sides. For worm bins, an indoor space that stays between roughly 55°F and 77°F works well; avoid garages that get very cold in winter.
Layer your greens and browns
Successful composting depends on balancing two categories of materials. Greens are nitrogen-rich: fruit and vegetable scraps, coffee grounds, tea bags (remove staples), fresh grass clippings, and plant trimmings. Browns are carbon-rich: dried leaves, cardboard torn into small pieces, newspaper, straw, and paper bags. A general guideline is to aim for roughly two to three parts browns for every one part greens by volume. Start your pile with a layer of coarse browns at the bottom for airflow, then alternate layers as you add material.
Maintain moisture and airflow
Decomposition is carried out by microorganisms that need both oxygen and moisture to thrive. Check the pile's moisture level weekly - it should feel like a damp sponge. In dry weather, water lightly. In rainy seasons, cover the bin or add extra dry browns. Turning the pile every one to two weeks introduces fresh oxygen and redistributes heat. The center of an active pile can reach 130°F-160°F, which is hot enough to kill weed seeds and many pathogens.
[warning_callout]Monitor and troubleshoot your pile
A healthy pile smells earthy, not foul. Common problems are easy to fix: a slimy, smelly pile usually needs more browns and turning; a pile that isn't breaking down at all likely needs more greens or moisture. Visible pests like fruit flies are typically drawn by exposed food scraps - bury fresh additions under a layer of browns. If rodents are a concern, avoid adding cooked foods and make sure your bin has a secure base.
Harvest and apply your finished compost
Finished compost looks dark, crumbly, and smells like rich earth - you should no longer be able to identify the original materials. This typically takes two to six months depending on your method and climate. To harvest, stop adding new material and let the pile finish, or use a three-bin system where one chamber completes while others fill. Apply finished compost by mixing it into garden beds at planting time, top-dressing established beds, or blending it into potting mixes. A two- to three-inch layer worked into the top six inches of soil makes a meaningful difference in structure and fertility.
Speed Up Decomposition Naturally
Putting Compost to Work in Your Garden
Once you have a steady supply of compost, you'll find uses for it throughout the growing season. Work it into beds before planting, use it as a top dressing around established perennials, or blend it with native soil when transplanting. Compost also pairs well with mulch - while mulch types serve different surface purposes, compost works below the surface to build long-term fertility.
If you're taking a more holistic approach to your garden design, composting fits naturally alongside strategies like companion planting - both are low-cost, high-impact ways to reduce inputs and work with your garden's natural systems rather than against them.
The content on this site is provided for informational purposes only and should not be considered a substitute for professional advice. While we strive to provide accurate and up-to-date information, we make no guarantees regarding its completeness or accuracy. Always consult a qualified professional for advice specific to your circumstances before making any decisions.