
Garden Planning Done Right: What to Map Before You Plant

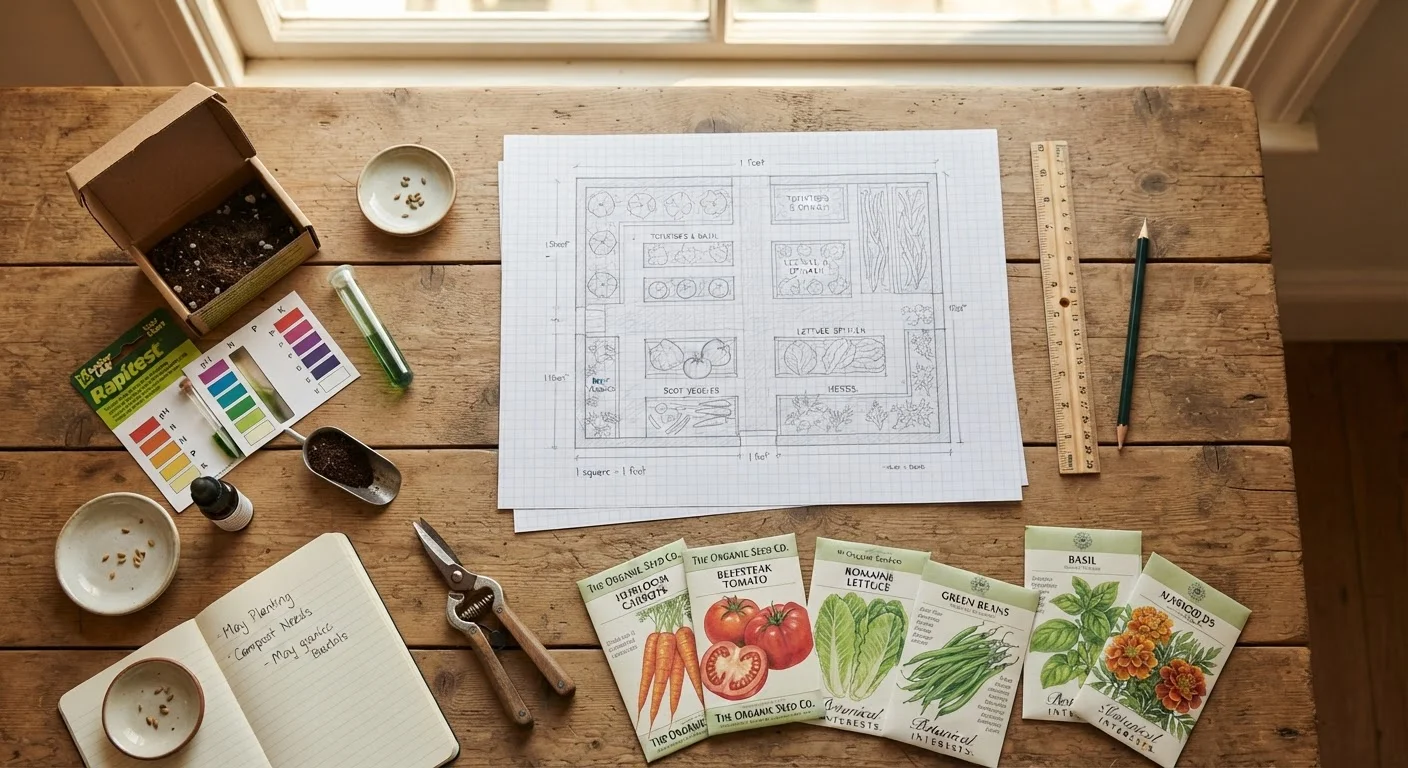
Photo: TheSearchHound.com | One Stop Answer To All Your Questions editorial
Key Takeaways
- Mapping sunlight, drainage, and soil conditions before planting prevents the most common garden failures.
- Testing your soil's pH and nutrient levels tells you exactly what amendments your plants will need.
- Spacing and timing are as critical as plant selection - both affect yield and plant health.
- Understanding your frost dates and USDA hardiness zone helps you plant at the right time.
- A simple site sketch on paper is enough to prevent costly layout mistakes before you dig.
Why Mapping Matters Before You Break Ground
Most garden disappointments trace back to a single cause: planting before observing. A plot that looks promising in March may sit in dense afternoon shade by June. Soil that drains fine after a light rain may pool for days after a heavy storm. Spending an hour or two mapping your space before you buy a single seed packet can spare you weeks of frustrating troubleshooting later in the season.
This checklist walks you through everything worth assessing - from sun exposure and drainage patterns to soil chemistry, spacing, and timing. Work through it systematically, and you'll head into planting with a realistic picture of what your garden can actually support.
If you're weighing whether an in-ground bed or a raised structure suits your site better, our guide to raised garden beds covers the tradeoffs in detail. Either way, the mapping steps below apply.
Graph paper or garden planning grid
Used to sketch a scaled layout of your garden space, marking sun zones, beds, and pathways.
Soil test kit or cooperative extension service
Measures soil pH and key nutrient levels so you know exactly what amendments your garden needs.
Tape measure
Provides accurate dimensions of your planting area so spacing and layout plans reflect real conditions.
Compass or compass app
Helps determine true north so you can orient beds for maximum sun exposure.
Garden journal or notebook
Records your observations, test results, and decisions for reference throughout the season and in future years.
The Garden Planning Checklist
Work through each group in order. Some steps - like soil testing - may take a few days to complete, so start this process well before your target planting window.
Sun & Shade Assessment
Drainage & Water Access
Soil Testing & Amendments
Spacing & Layout Planning
Timing & Season Planning
Don't Skip the Soil Test
Once you've confirmed your layout and soil needs, your plant selection gets much easier. Soil chemistry in particular shapes which crops will thrive versus struggle. For a deeper look at that relationship, see our article on how soil pH controls nutrient availability.
Thinking about which plants to place next to each other? After completing your layout map, explore companion planting combinations that experienced gardeners use for pest control and efficient use of space. And once beds are planted, choosing the right mulch type can protect your soil structure through the whole growing season.
Putting Your Map to Work
Once you've gathered your observations, sketch your garden on graph paper or a simple grid - one square per foot is a practical scale for most home plots. Mark sun zones, any drainage problem areas, existing trees or structures casting shade, and access paths. This sketch doesn't need to be artistic; it needs to be accurate.
Use the sketch to trial different layout arrangements before you commit to digging. Tall plants should generally go on the north side of a bed so they don't shade shorter crops. Group plants with similar water needs together to simplify irrigation. Leave enough walkway space so you can reach every part of the bed without stepping on soil and compacting it.
Keep your completed map and checklist notes from year to year. They become a valuable reference - you'll know which areas struggled with drainage, where you had pest pressure (see our guide to common garden pests for help identifying damage), and which spots produced your best results. Gardening improves dramatically with accumulated site knowledge, and this checklist is where that knowledge starts.
The content on this site is provided for informational purposes only and should not be considered a substitute for professional advice. While we strive to provide accurate and up-to-date information, we make no guarantees regarding its completeness or accuracy. Always consult a qualified professional for advice specific to your circumstances before making any decisions.